This picture tutorial is to help you make a cannabis leaf. My 3 videos are horrible!! So I thought I better put up pictures and descriptions to better help you.
I use 18 gauge for frame work to create the leaf, and 24 gauge, dead soft (DS) to actually make the leaf The leaf stem in this tutorial is a 20 gauge dead soft round. The bead is 5mm round, flat/coin cut labradorite.
I am working from the spool, but you can cut about 4 to 5 feet of 24 gauge to complete one leaf. It may be too much, I usually work off the spool for this so I’m not sure the correct length.
Lets begin, you will need a few tools, Other than a wire cutter, flat nose pliers, and round nose pliers, you may only use the wire cutters. Have a nylon, flat jaw plier handy, if you have one. You will need thicker wires to use in order create the leaf
I made 8, 4 inch long pieces, out of 16 gauge wire to wrap my pedals. The stem is a 20 gauge dead soft cut about 3 inches long. Total pieces cut is 9.
Take stem wire and wrap the 24 gauge around it 2 or 3 times to anchor it.
Take the first frame wire and place it on top of the stem wire and wrap the 24 gauge around to the back side.
Wrap the 24 gauge around the larger wire and bring it through the center of the 2 wires, as seen in photo.
Now add another frame wire to the top of that and wrap around both frame wires. Bring the wrapping wire back through between the stem and first frame wire.
Wrap around stem and first frame wire, as you did in the first step. Then wrap the wrapping wire around the stem once more.
Now add another frame wire to the top of that and proceed as you did in the first step. This time you will be including 2 tiers. Each increase of pedals is 2 frame wires Each is wrapped separately.
add a fourth frame wire and wrap around both as seen in picture,
Once you’ve brought your wire over the top of frame wire 4, bring it between the 3rd frame wire down. Matching up with the first side. Wrap #2 and #3 frame together and proceed with that step including the stem wire. Wrap a single wrap around the stem.
Continue with the 3rd pedal the same way. Add a frame wire when you reach the top, wrap around it and add another, then wrap down the other side, Your frame should begin to look like this (if I’m doing a good job explaining that is )
The middle pedal is the exact same. One difference is when you reach the top, wrap 2 times around the 2 top pieces for added strength for hanging. It doesn’t effect the look what so ever.
This is important, once the 4th pedal is made, remove the top (8th) frame wire. This will ensure you don’t weave all the way to the top in the next step. You’ll see…
You’ll repeat the process in opposite now. As you weave the next 3 pedals, be sure to remove the frame wires to ensure you don’t make a very common mistake. Yes, very common (lol)
This is what yours should look like once the frame wires are removed. KEEP THE STEM WIRE IN PLACE!
Neatly try to squeeze the pedals together. They won’t close all the way. That’s fine. When you squeeze them together, bend the stem wire so it’s pointing up like in the picture.
To begin shaping, pinch the 2 pedals on each side of the largest pedal and very easily begin curved them, shaping them as round as possible. Little by little. Then pinch the bottom feeder pedals and bring them inward, in curved formation.
Adjust the pedals so #2 pedal is centered. Or as close as possible.
Trim your stem to a length you want. If wrapping from the spool, cut it leaving a little more than an inch of a tail for beading.
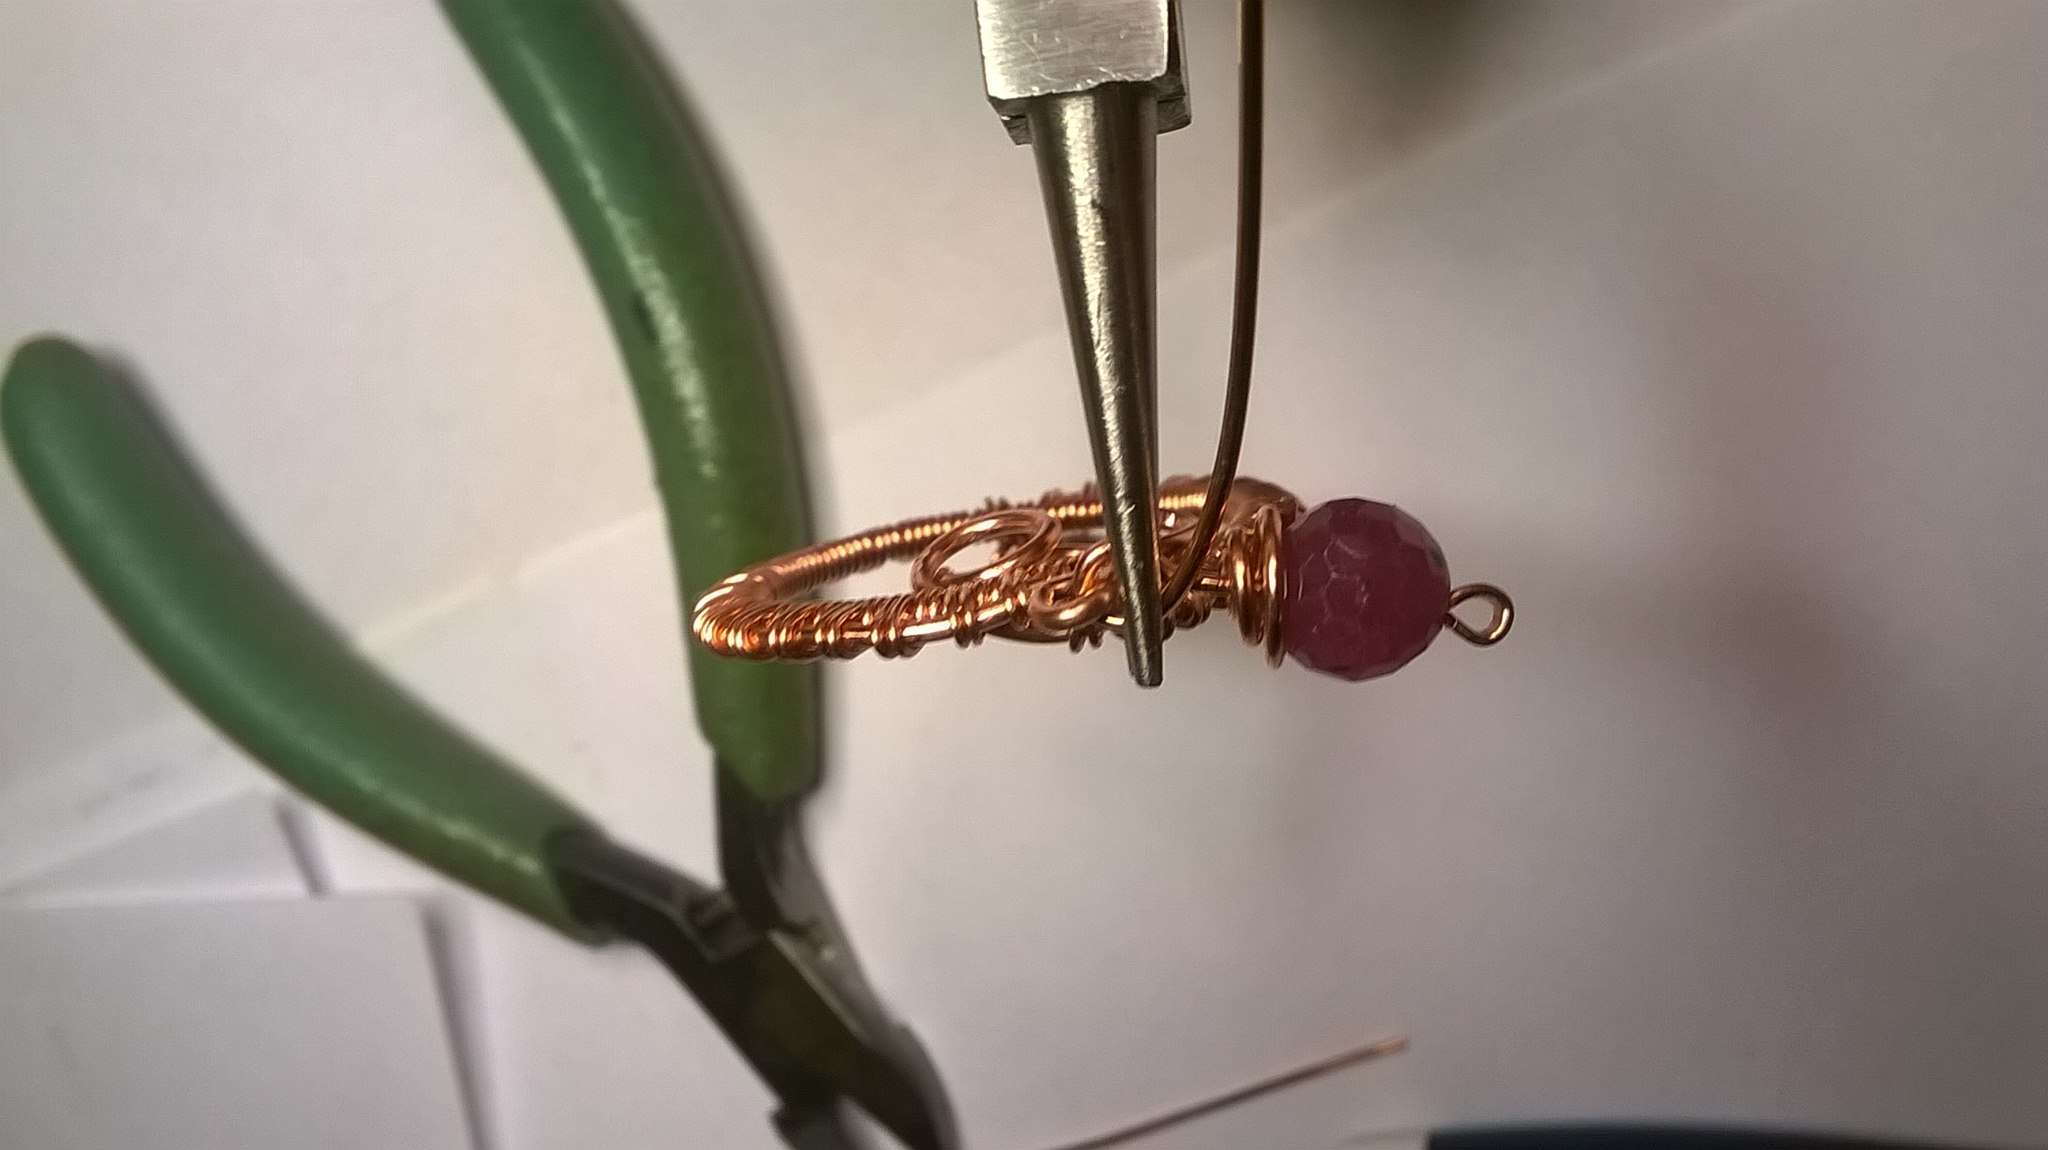
You can wrap the beaded wire directly over the top to blend in with the frame, Bring the wire all the down to your stem.
Wrap the remaining weaving wire around the stem 2 or 3 times then snip it so it’s caught between the stem wires. If that makes any sense.
Separate the stem wires or bend them to how you would like them to look. I finished this one by curling and lightly hammering.
This is the finished product. Add a jump ring and hang it from a leather or hemp cord. You can use these for all kinds of things.
On change purses, zipper pulls.
I also include them on y lighter case
I hope this was better lol
Thanks for stopping by and not complaining. See you in the world!!


 August 14th, 2023
  admin
admin 


 Posted in
  Tags:
Tags: